| Lenticular image | A composite image made by combining narrow strips from multiple views. A lenticular lens directs different strips toward the viewer at different angles. | For a depth effect, capture or render several views of the same subject from slightly different horizontal positions, then interlace them into one image. | Moving your head changes which view reaches each eye, creating a perception of depth and motion parallax. |
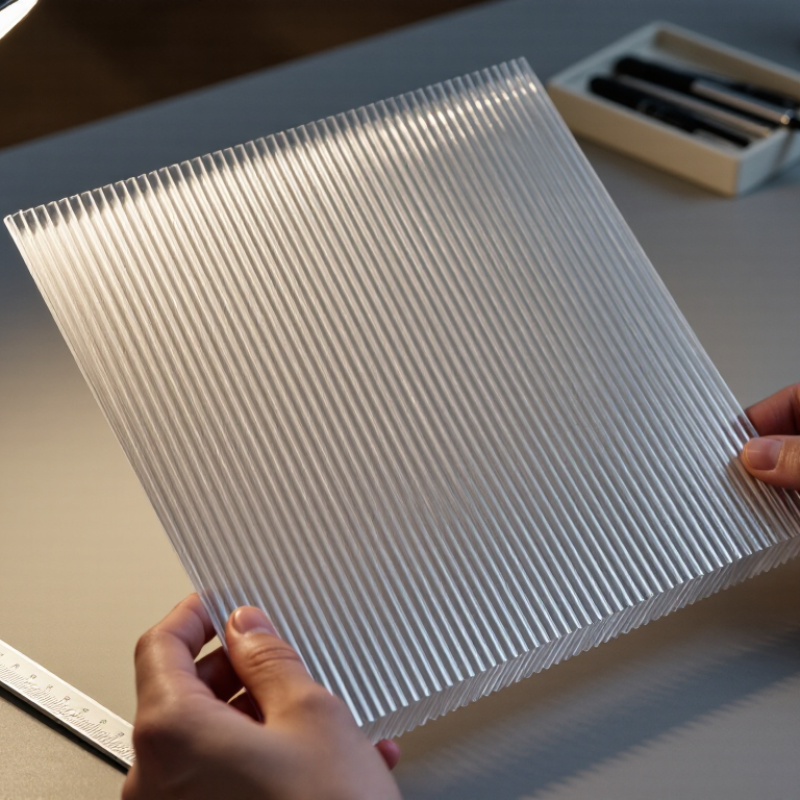
| 3D printing approach | The image and the lens can be produced separately, or the lens-like surface can be printed as part of the object. | A practical workflow is to print the interlaced image, then align it with a clear lenticular sheet. Printing the lens directly requires suitable geometry and a surface clear enough to guide light reliably. | Ordinary printed layer lines can scatter light, so a directly printed lens may look less clear than a purpose-made optical sheet. |
| View generation | Each source view represents the subject from a different camera position. The views are combined before printing. | Keep the subject, lighting, and background consistent between views. Use a modest camera shift for a shallow, comfortable depth effect; excessive shifts can cause ghosting or visual strain. | For a simple test, use a small number of views and inspect the result before producing a larger image. |
| Lens pitch | Pitch describes the number of lenticules per unit length, commonly stated as lenticules per inch (LPI). | Match the interlaced image pitch to the lens pitch. Calibrate with a test print because printer scaling, image resampling, and alignment can affect the result. | A 40 LPI lens has a nominal pitch of 25.4 ÷ 40 = 0.635 mm per lenticule. |
| Interlacing and alignment | Interlacing divides the views into strips and arranges them to correspond with the lens ridges. | Set the strip spacing from the measured lens pitch and the intended print scale. Align the lens ridges with the interlaced strips; even a small rotation or shift can mix views. | Look for a stable image when viewed from the intended direction. Blended views or repeated bands often indicate a pitch or alignment mismatch. |
| Printed lens geometry | A direct-print lens uses repeated curved or faceted ridges to refract light from different image strips. | Use a lens profile designed for the chosen viewing distance and image layout. Check the printer’s dimensional accuracy and surface finish, and test a small sample first. | There is no single ridge height or profile that works for every printer, material, lens pitch, and viewing distance. |
| Print orientation | The lens ridges must run in the correct direction relative to the interlaced strips. | For a typical horizontal-parallax effect, the views differ horizontally and the lenticules are arranged vertically. Follow the orientation used by the interlacing layout. | If the ridge direction and strip direction do not correspond, the image may show the wrong views or fail to produce the intended effect. |
| Viewing and quality checks | The effect depends on the lens, image, alignment, illumination, and viewing position working together. | Test under even lighting and view from several horizontal positions. Check for visible striping, ghosting, color shifts, and whether the depth direction appears correct. | Adjust one variable at a time—such as scale, alignment, or view spacing—so the cause of a change is easier to identify. |



 © Copyright 2020 Tianjin Tanghaidongyang Valve Co., Ltd. All Rights Reserved.