| Common wood-stud spacing | 16 inches on center (16 in. OC) | Use a stud finder to locate the center of each stud where the holder will go. | Sixteen inches is common, but spacing can vary. Confirm each stud rather than relying on an assumed location. |
| Alternative stud spacing | 24 inches on center is also used in some walls | Scan a wider area if a stud is not found at the expected 16-inch interval. | Older homes, additions, and unusual framing may have different layouts. |
| Confirming a stud location | A stud finder usually indicates an edge or center, depending on its mode | Follow the tool instructions and mark the stud center. A small pilot hole in a discreet spot can help confirm the location. | Check for plumbing or electrical wiring before drilling, especially near fixtures and switches. |
| Mounting into a wood stud | Use suitable screws that penetrate the stud | Position the mounting bracket over the stud and drill pilot holes sized for the screws and wood. | Choose screw length and diameter appropriate for the bracket and wall assembly; avoid overtightening. |
| Bracket holes do not align with studs | Many towel-holder brackets have fixed hole spacing | Use wall anchors rated for the wall material and expected load, or select a mounting location that allows secure fastening to framing. | Follow the anchor instructions and load rating. Do not assume a drywall-only fastener can support any load. |
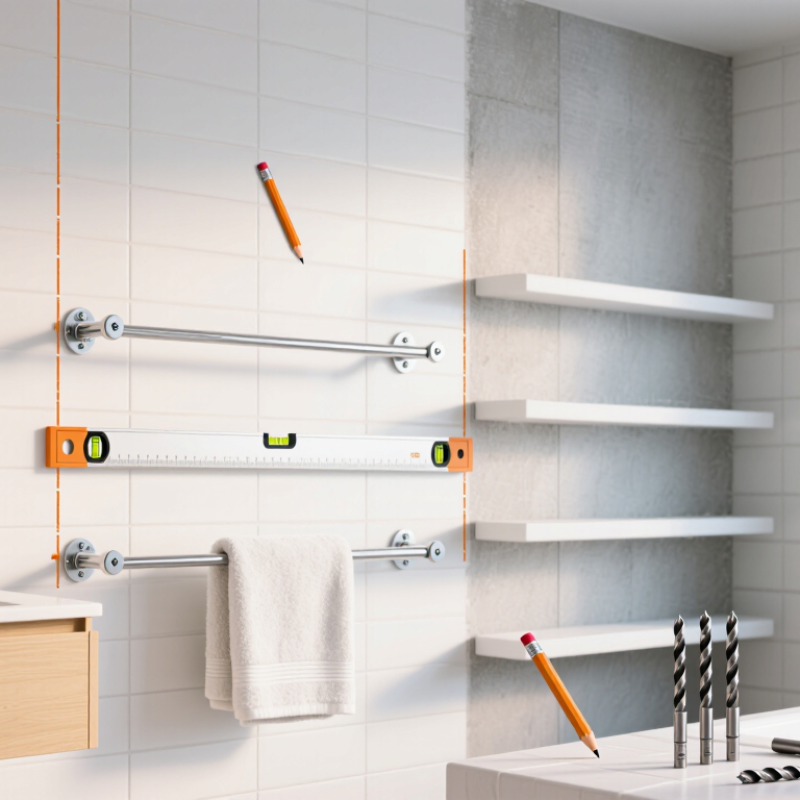
| Before drilling | Check the holder’s mounting template and required clearances | Hold the holder in place, level it, mark the holes, and verify the position before making holes. | Measure twice and account for the holder’s end brackets and the length of the towel bar. |
| After installation | The holder should sit firmly without wobbling | Tighten the mounting hardware, attach the holder, and gently test it by hand. | If the wall flexes or the holder loosens, stop using it until the mounting is corrected. |



 © Copyright 2020 Tianjin Tanghaidongyang Valve Co., Ltd. All Rights Reserved.