| Selection | Vehicle and door compatibility | Select a cylinder designed for the existing latch, cam, rod, or multi-point locking mechanism. Match the cylinder body length, fixing position, cam profile, rotation direction, and key clearance. | Remove the old cylinder or consult the vehicle service drawing. Measure the body length from the fixing screw centerline, the cam position, and the mounting-hole spacing. | Do not force a cylinder into a latch with a different cam profile. Replace distorted mounting plates or worn latch components before fitting the new cylinder. |
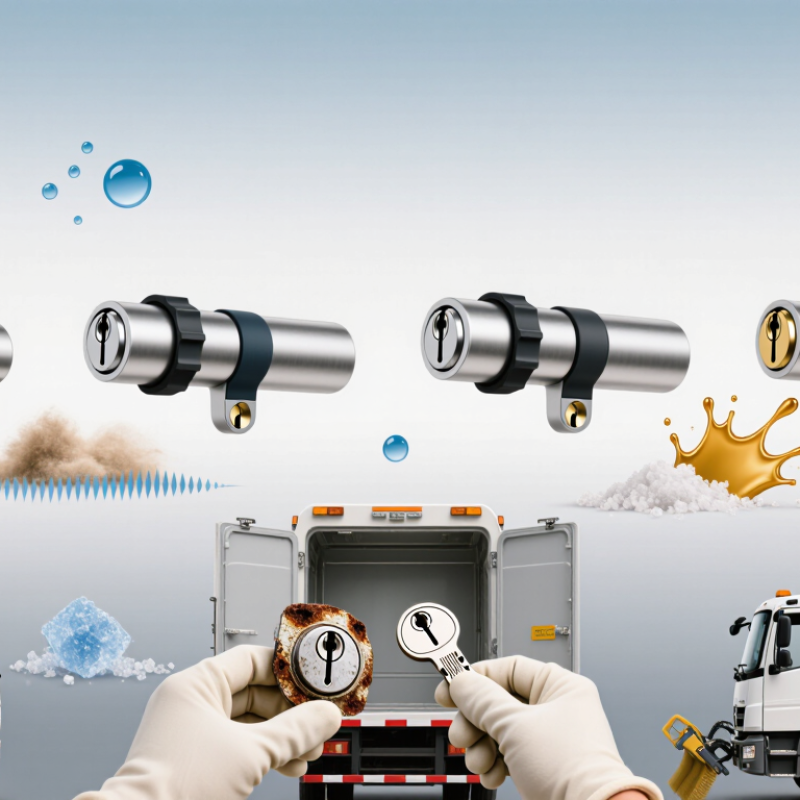
| Selection | Corrosion resistance | Use corrosion-resistant stainless steel or suitably protected metal construction. Stainless steel grade 316 is generally preferred in areas exposed to salt, disinfectants, wastewater, and frequent washdown. | Review the material declaration and surface-finish information. Inspect for pitting, flaking, red rust, or galvanic corrosion at the cylinder, cam, fasteners, and escutcheon. | Rinse chemical residue with clean water after washing when permitted by the vehicle procedure, then dry the lock area. Avoid abrasive pads that damage protective finishes. |
| Selection | Water and dust protection | Choose a sealed cylinder or a protected lock housing for exposed locations. The complete installed assembly should be evaluated for the vehicle’s washdown conditions; an IP rating applies to the specified enclosure or assembly, not automatically to every cylinder. | Check the technical documentation for the complete assembly and confirm that seals, protective caps, and drainage paths are present and undamaged. | Keep the keyway cover, seal, and drain path clear. Do not block drainage holes with grease, paint, or debris. |
| Selection | Operating temperature | Select a cylinder whose documented operating range covers the vehicle’s climate and storage conditions. A typical industrial target is approximately −30°C to +80°C, subject to the component specification. | Compare the manufacturer’s stated temperature range with the operating environment, including cold starts, hot sun exposure, and heated wash bays. | Never pour hot water onto a frozen lock. Use an approved lock de-icer where necessary and investigate recurring freezing caused by water entry. |
| Selection | Security and key control | Use a restricted or controlled key system where unauthorized access to the hopper, tool compartment, chemical cabinet, or service door is a concern. Specify keyed-alike or keyed-different operation according to fleet policy. | Confirm that unauthorized keys cannot operate the cylinder and that the key can be removed only in the intended locked or unlocked position. | Maintain a key register, limit duplicate-key access, and replace keys that are bent, heavily worn, or difficult to insert. |
| Selection | Load and cycle suitability | Choose a cylinder and latch assembly rated for the door mass, vibration, operating frequency, and closing force. Sanitation vehicles may experience repeated daily cycles and strong vibration on uneven roads. | Check the documented cycle rating where available and inspect the latch for free movement, secure engagement, and correct alignment under normal door load. | Do not use the key as a handle or pry tool. Adjust hinges, rods, and striker plates if the key is required to pull the door into alignment. |
| Installation | Preparation and isolation | Park on stable ground, apply the parking brake, isolate relevant vehicle power if required by the service procedure, and secure the door against unexpected movement. | Confirm that the vehicle is stable and that the door, linkage, and nearby moving equipment cannot operate during installation. | Wear suitable gloves and eye protection. Clean wastewater, grease, and debris from the lock area before removing the old component. |
| Installation | Cylinder fitting | Insert the cylinder squarely, align the cam or tailpiece with the latch mechanism, and install the retaining screw or nut using the vehicle or component service specification. | With the door open, rotate the key through the full operating range. The cam should move smoothly without scraping the cylinder housing or binding the linkage. | Use the correct fastener and a suitable corrosion-resistant washer where specified. Do not overtighten, as distortion can make the cylinder bind. |
| Installation | Seal and drainage installation | Fit the supplied gasket, O-ring, protective cap, or escutcheon in the correct orientation. Preserve any drainage route designed to remove wash water. | Check for an even seal around the cylinder and confirm that the keyway cover opens and closes without interference. | Replace cracked, flattened, or missing seals. Do not use household silicone as a substitute unless approved by the service procedure. |
| Testing | Key operation test | Required Test locking and unlocking with the door open, then repeat with the door closed. The key should insert, rotate, and withdraw without excessive force. | Perform at least three complete lock-unlock cycles. Confirm that the key cannot be removed in an unintended position and that the latch reaches full engagement. | Stop testing if the key twists, binds, or requires force. Correct alignment or replace damaged parts before returning the vehicle to service. |
| Testing | Door retention and alignment | Required Verify that the door closes fully, the latch engages completely, and there is no excessive movement, rattling, or visible gap caused by misalignment. | Apply a moderate manual pull to the closed door without using tools. Check the latch indicator, locking cam position, hinges, striker, and linkage. | Do not operate the vehicle if a service door can open under normal vibration or if the lock only partially engages. |
| Testing | Washdown and water-ingress check | Recommended After installation, inspect the lock and surrounding seal during the vehicle’s normal cleaning process. Avoid directing high-pressure spray directly into the keyway unless the assembly is designed for it. | Open the door after cleaning and check for pooled water, contamination, stiff operation, damaged seals, or water trapped inside the housing. | Dry the keyway and apply only a lubricant approved for the cylinder and operating environment. |
| Maintenance | Routine inspection interval | Inspect at least monthly and at every scheduled vehicle service. Increase inspection frequency for coastal routes, winter road salt, chemical exposure, or high-cycle doors. | Record key operation, latch engagement, fastener tightness, seal condition, corrosion, and evidence of forced entry or impact damage. | Replace components showing cracking, severe corrosion, loose mounting, excessive play, or unreliable locking. |
| Maintenance | Cleaning | Remove grit and contamination with a soft brush or lint-free cloth. Use a mild cleaning solution compatible with the cylinder material and vehicle finish. | Confirm that the keyway, cam, protective cap, and drainage opening are free of hardened dirt and chemical deposits. | Avoid chlorine-rich, strongly acidic, or strongly alkaline cleaners unless the component documentation specifically permits them. Never mix cleaning chemicals. |
| Maintenance | Lubrication | Use a small amount of lubricant specifically approved for lock cylinders. Dry-film or low-residue products are commonly preferred for the keyway because heavy oils can attract dust. | After lubrication, operate the key several times and wipe away excess material. Confirm smooth operation without sticky residue. | Do not mix incompatible lubricants. Avoid forcing general-purpose grease into a precision cylinder unless the component instructions require it. |
| Maintenance | Replacement criteria | Replace the cylinder when it repeatedly jams after alignment and cleaning, shows structural damage, loses reliable key control, or no longer maintains secure latch engagement. | Compare operation with a known-good key and inspect the cam, retaining hardware, housing, seals, and latch for separate faults. | After replacement, update key-control records and repeat the complete installation and functional test before release. |
| Documentation | Service record | Record the vehicle identifier, door location, cylinder type, installation date, key-control arrangement, inspection results, and replacement reason. | Confirm that the record is complete and that spare keys, service instructions, and inspection findings are traceable to the vehicle. | Use the service record to identify recurring alignment, corrosion, washdown, or unauthorized-access problems across the fleet. |



 © Copyright 2020 Tianjin Tanghaidongyang Valve Co., Ltd. All Rights Reserved.