| 1 | Match the spray pattern to the crop. Compare the wetted diameter and pattern—such as a full circle, half circle, or strip—with plant spacing and bed layout. | Keep spray heads clear of foliage and other obstructions. Adjust edge heads so water is directed into the growing area rather than onto paths or walls. | Check that heads have not shifted, become blocked, or been covered as plants grow. | Correct patterns can reduce overspray and avoid buying more heads than the layout requires. |
| 2 | Confirm flow rate and operating pressure. Use the flow and pressure specifications for the selected nozzle; micro-sprinkler requirements vary by model. | Measure pressure while the system is running. Use a suitable regulator if needed, and verify that the supply can deliver the combined flow of the zone. | Recheck pressure if spray distance or coverage changes. Look for leaks or partially closed valves that can affect performance. | Correct sizing can prevent uneven watering, unnecessary pumping, and later changes to the pump or pipework. |
| 3 | Plan spacing for overlapping coverage. Compare the specified wetted diameter with proposed head spacing; wind and site conditions can reduce effective coverage. | Lay out the system on a plan before installing pipe. Test coverage with the heads running and adjust spacing where dry gaps appear. | Inspect coverage at the edges of each zone, especially after moving stakes or replacing emitters. | Good spacing balances the number of heads and pipe needed against the risk of dry spots and repeated watering. |
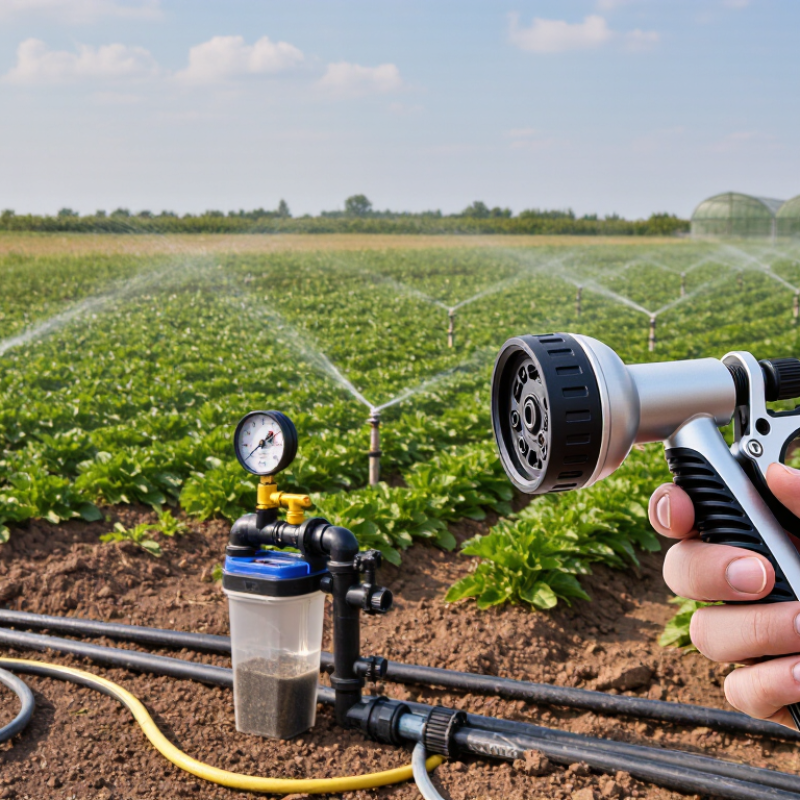
| 4 | Include filtration in the design. Select filtration based on water quality and the irrigation equipment’s requirements; no single filter rating suits every system. | Install the filter where it is accessible for cleaning and follow the system design for its position relative to valves and regulators. | Inspect and clean the filter as its manufacturer recommends, and more often if the water contains visible sediment or algae. | A suitable filter adds an upfront cost but can reduce clogging, repairs, and premature emitter replacement. |
| 5 | Choose pipe and fittings for the site. Check pipe diameter, pressure rating, connection compatibility, and suitability for outdoor exposure. | Use a layout that limits sharp bends and makes flushing possible. Secure tubing so heads stay in position during operation. | Check joints and exposed tubing for leaks, cracks, and damage from tools, animals, or foot traffic. | Include mainline, lateral tubing, connectors, stakes, valves, and any required regulator—not just the sprinkler heads—in the materials budget. |
| 6 | Consider wind, slope, and water source. Fine spray can drift in wind, while slopes and pressure differences can affect how evenly water is applied. | Where practical, irrigate when wind is low. On sloping or uneven sites, check the design for pressure variation and water movement across the soil. | Observe the system under typical operating conditions and adjust run times or zones if watering is uneven. | Site conditions may require more zones, additional controls, or a different spray pattern, affecting installation and operating costs. |
| 7 | Compare the full lifecycle cost. Consider equipment, installation labor, water use, energy for pumping, replacement parts, and routine maintenance. | Plan accessible shutoff valves and flush points. Divide the system into zones if the water supply cannot serve all heads at once. | Check heads and filters regularly, flush lines as appropriate, and drain or protect components where freezing is a risk. | Request an itemized estimate and compare expected service needs—not only the purchase price of the sprinklers. |



 © Copyright 2020 Tianjin Tanghaidongyang Valve Co., Ltd. All Rights Reserved.